
4 min reading time
How to Create a Storyboard for eLearning Content

Creating basic learning content is a challenging task. And, when you decide to add more sophisticated media, like videos and graphics, the content building process becomes even more complicated. To make life easier, we love to use storyboards.
Simple to develop, it’s a tool that helps you plan every element of your eLearning media in a visual way. In this post, we’re going to explain what a storyboard is, the advantages of using them, and how you can create storyboards for your eLearning content.
What is a storyboard?
A storyboard is a tool used to plan and visualize videos, animations, graphics, or courses. Typically comprising of sketched images and text, it creates an organized sequence of the story that needs to be told or information that needs to be communicated.
Storyboards are ubiquitous in eLearning to create well-defined course content. Used in combination with other content creation models like ADDIE, it’s an effective method to build engaging training programs.
Advantages of storyboards
Used by lots of professionals from graphic designers to filmmakers, storyboards are a handy tool as they:
1. Share your vision
When building a course, there are many key players involved – managers, stakeholders, subject matter experts, tech teams…the list goes on. Creating an eLearning storyboard is an efficient way to present a visual aid to them so you’re all aware of what your course will look like. As everyone can clearly see what you’ve planned, they can give better feedback and be confident in the ideas that you are presenting.
2. Add focus
eLearning storyboards help you to focus on the intention of your training content as you outline and plan important aspects such as objectives, the highlights, and the overall goal for a learner.
3. Invest time now, save time later
Storyboarding may seem cumbersome at the beginning, but it can save you lots of time. It gives you clear steps to building your course and it cuts back on endless feedback after the course is produced as its been approved by stakeholders during the storyboarding phase.
4. Boost engagement
With a clear vision of what your course will look like, you can pinpoint weak spots, see where your course flows and where learners get stuck. You can then edit, add and improve, to make your course more engaging for your learners.
Storyboard tools
There are several user-friendly eLearning storyboard tools available for course creators. Here are our favorites:
Photoshop, PowerPoint or Google Slides are alternative easy-to-use storyboarding tools and the results can be uploaded to your chosen authoring tool. Remember too, storyboarding doesn’t have to be high tech. A simple piece of paper and a pen also does the trick.
How to create a storyboard in 5 steps
1. Draw your blank thumbnails
The first step is straightforward – draw your storyboard thumbnails. Thumbnails are blank squares or rectangles where you illustrate the images that represent each stage of your story.
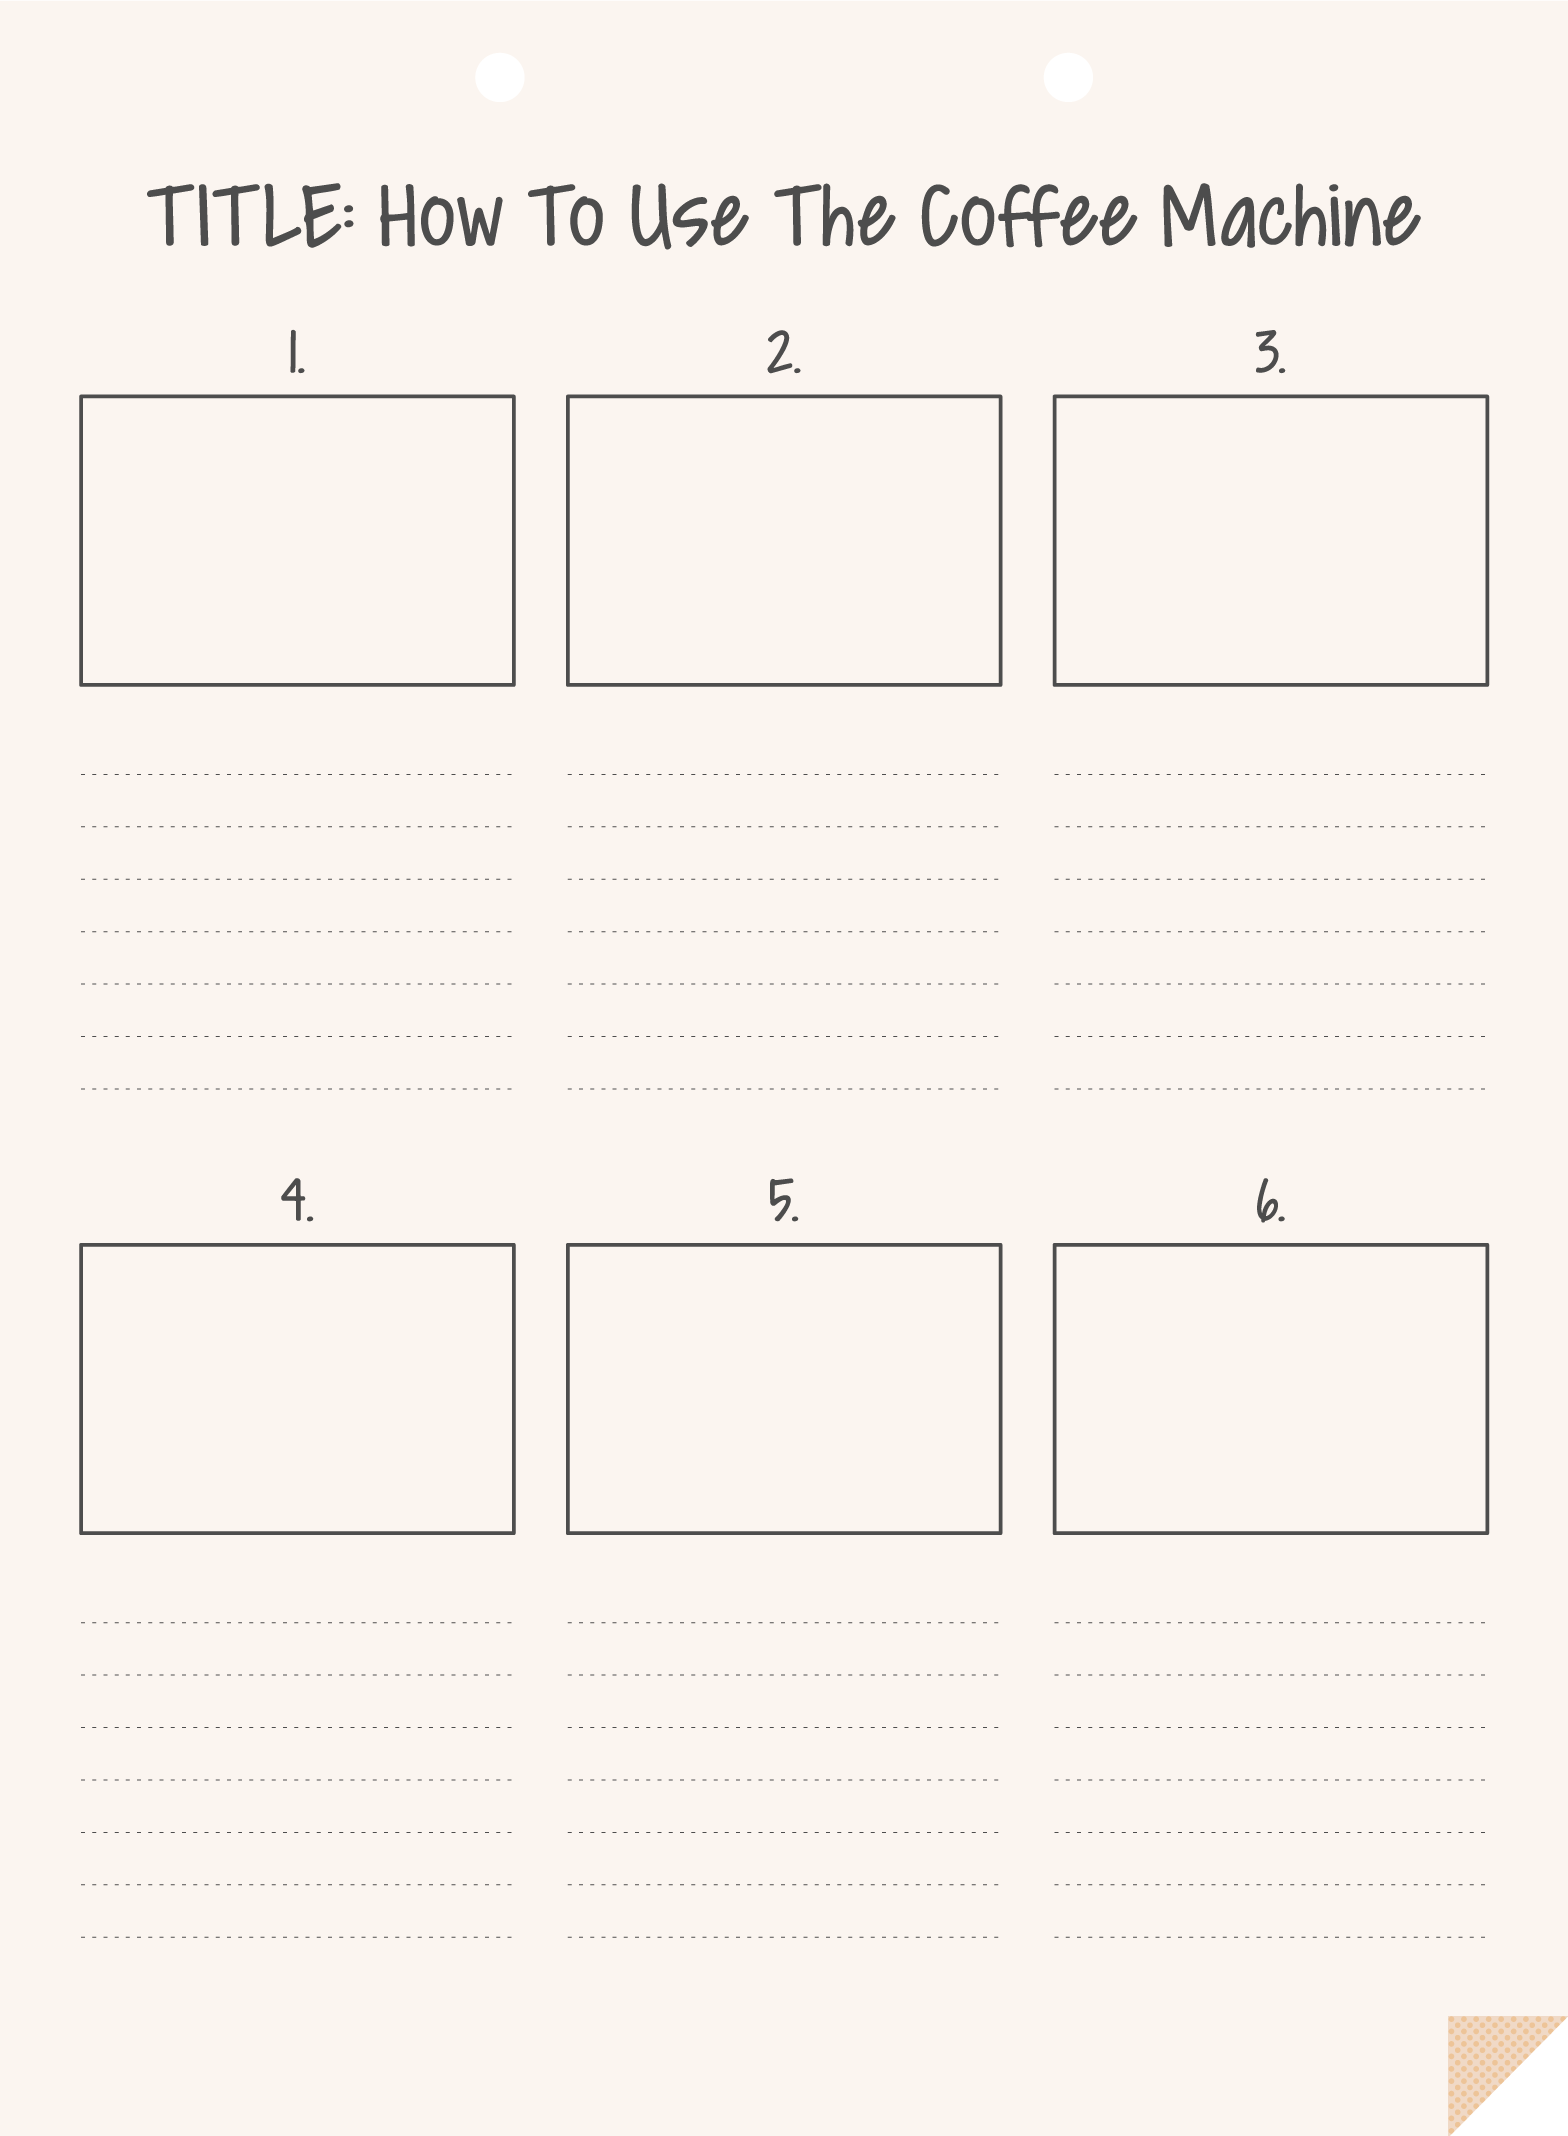
Don’t forget to leave room for the title, number your thumbnails, and have space underneath for you to name your scene and what action will be taking place within it. You can additionally add a space for the script, annotations, audio or any other steps you want to include.
2. Add your title, scene name, action
Start filling out your blank thumbnails by first adding in your course title as well as the scene name, the action that will be taking place in each box and any script that corresponds to the scene.
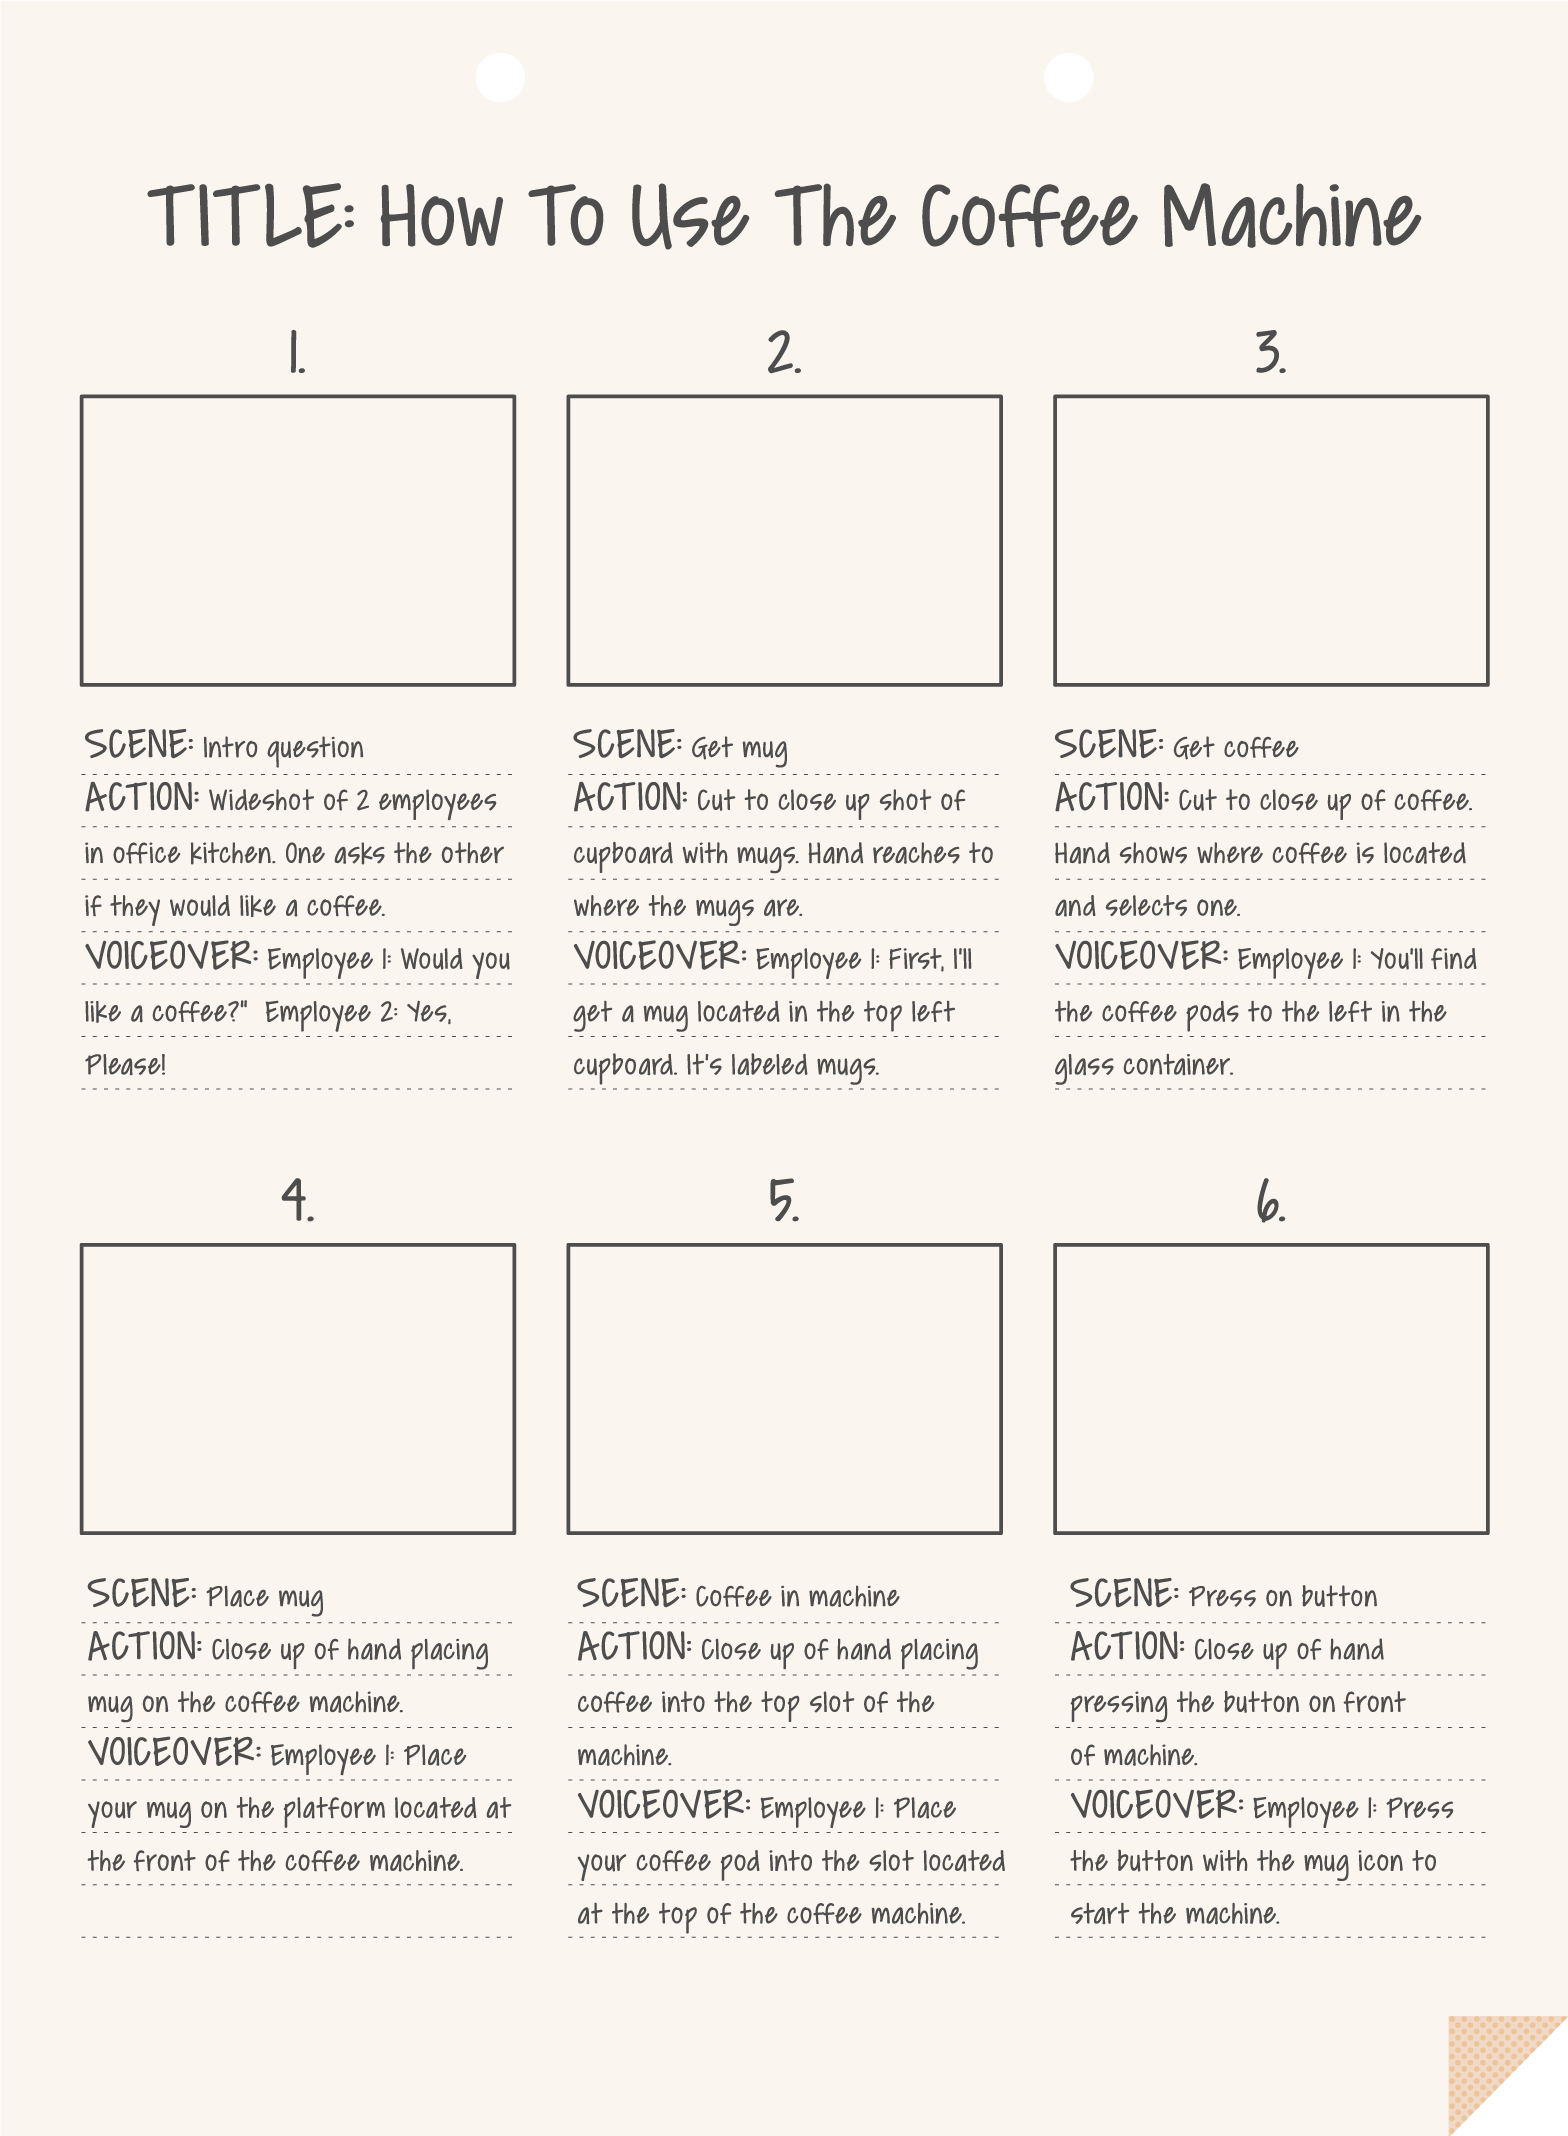
The action description should be a concise explainer that sums up what is happening in each scene. If you find it’s too difficult to explain the action, then perhaps you need to break that scene down into 2 or 3 separate thumbnails. Remember, it’s show not tell so it’s okay to have multiple thumbnails in your storyboard!
3. Start Sketching
Now you’re ready to start drawing the storyboard.
Here, you are mapping out how your idea looks visually. It doesn’t have to be highly detailed, but it should give an overall sense of everything that’s happening in each thumbnail.
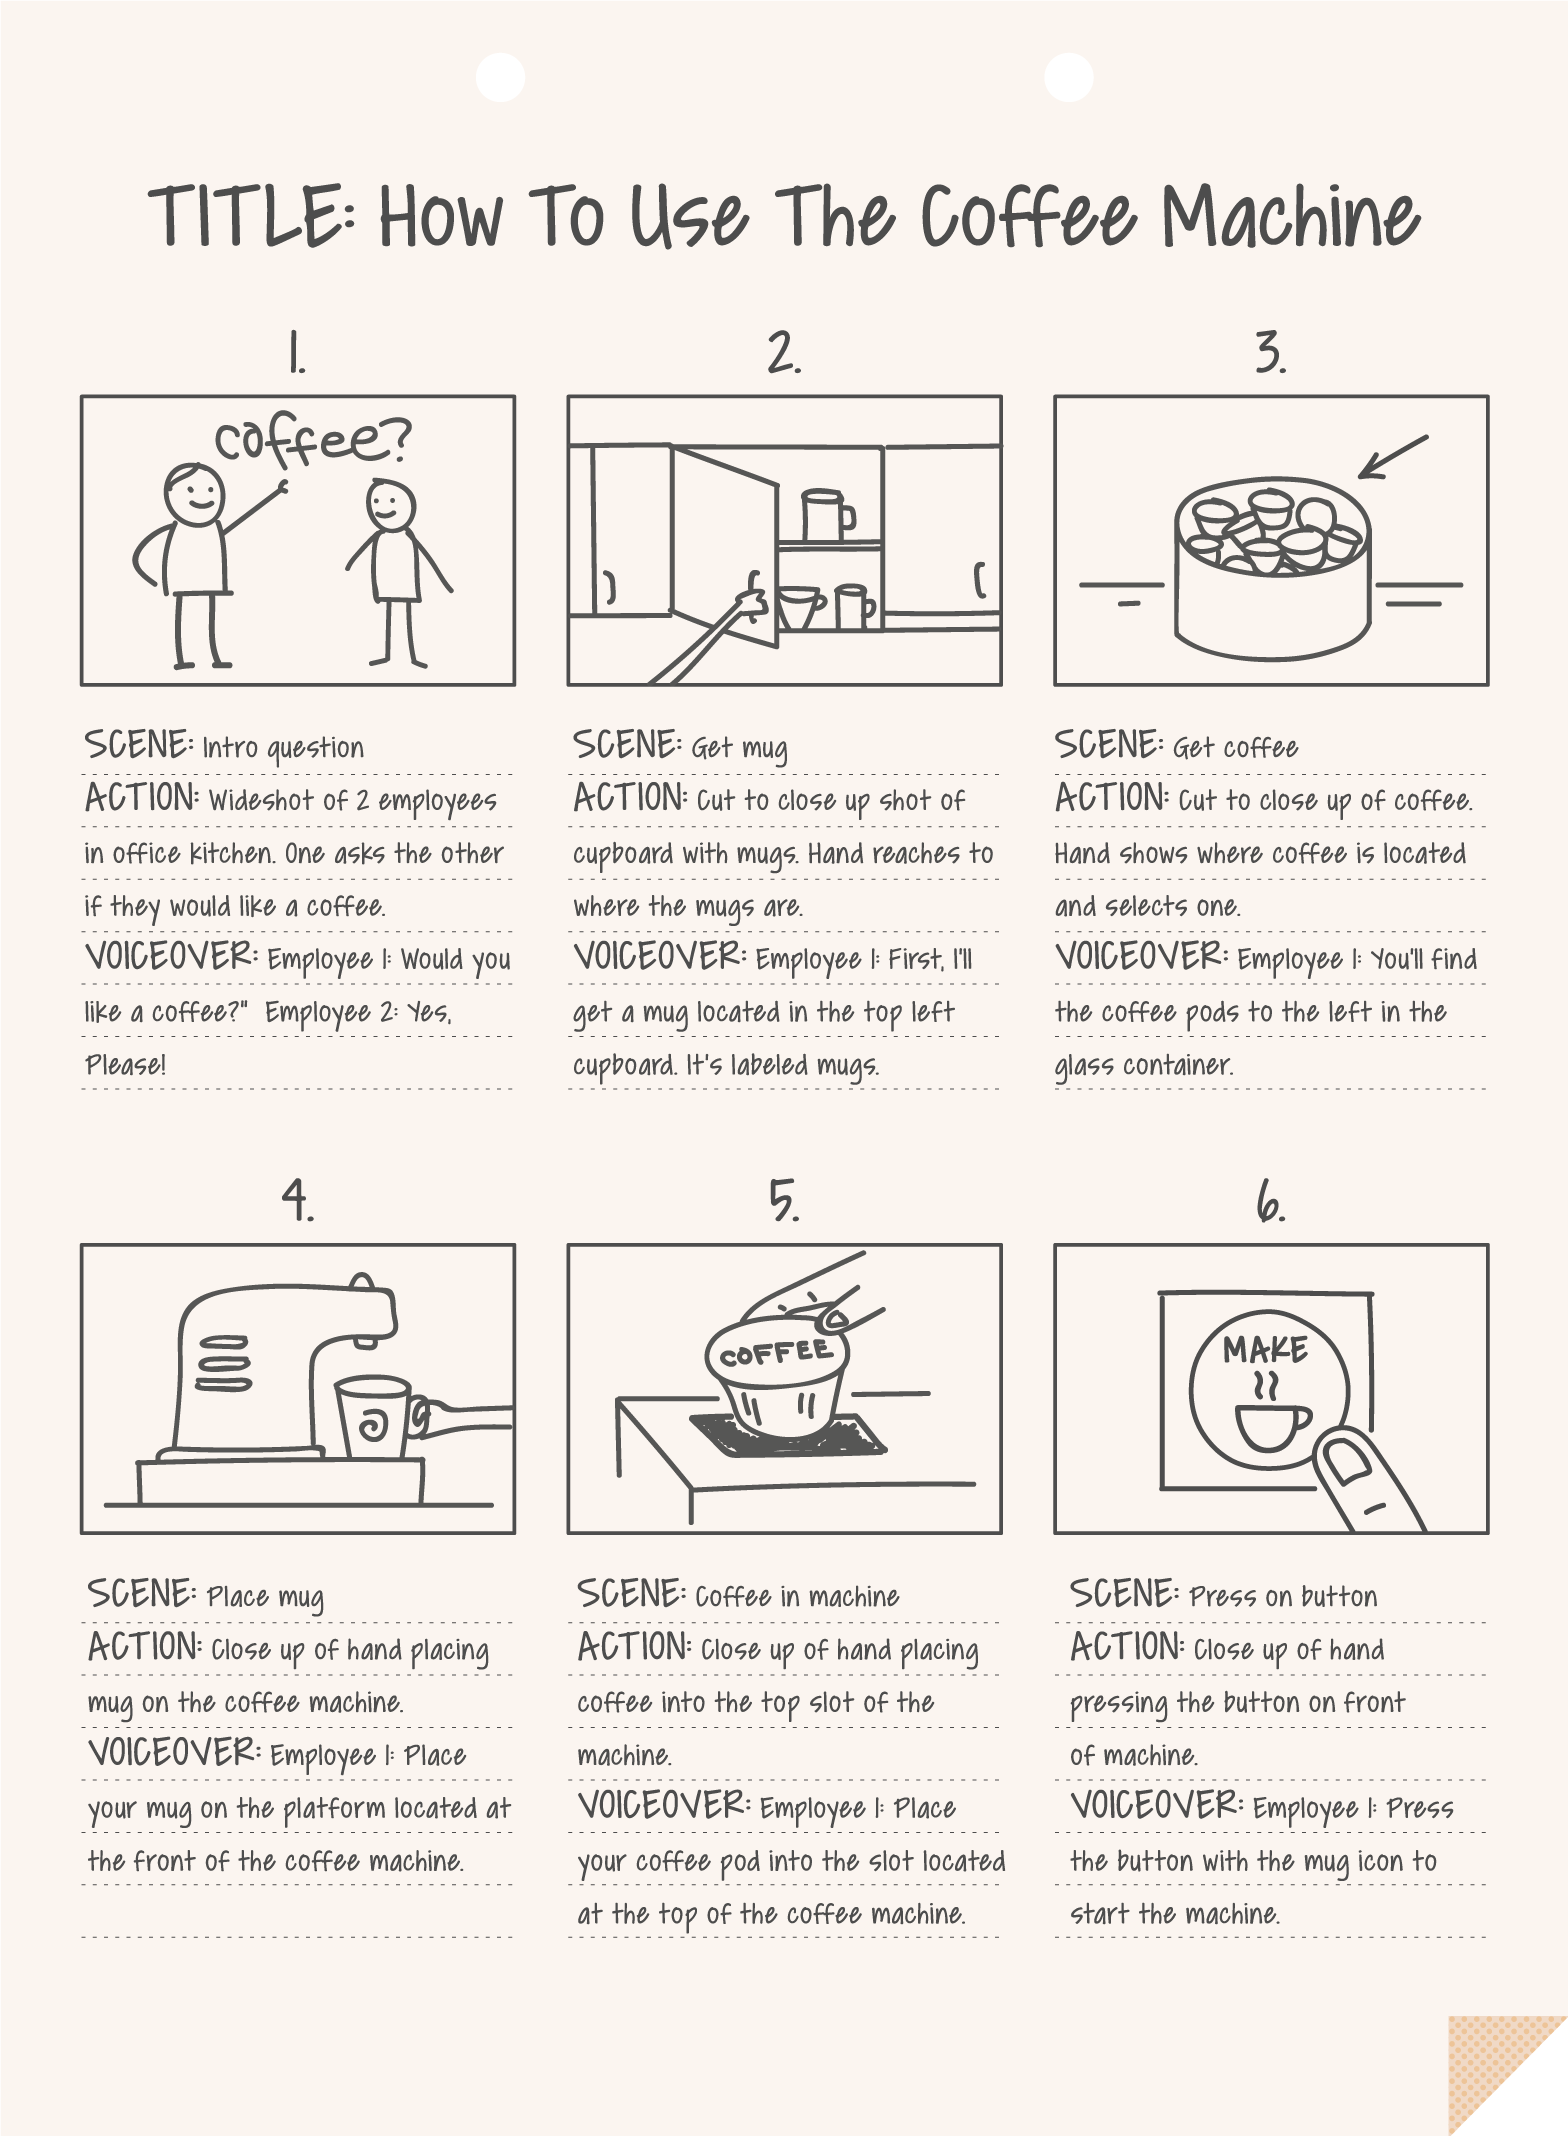
Some suggested aspects you should include are the point of view from which the learner will be seeing the course and the characters, images, or words that will be featured on screen.
Don’t worry if you’re no Picasso, as long as you’re creating a clear picture you’re on the right track. You can also pair your script, annotations, and audio at this stage too.
4. Critically assess and adjust
After you’ve finished drafting your storyboard, it’s clever to look at it with a critical eye. Rarely are storyboards perfect after the first attempt, therefore it’s recommended you go back and ask yourself the questions suggested above again.
This also enables you to ensure your story makes sense or, if not, identify where it needs to be added to or edited. Just keep fine-tuning your storyboard until you’re happy.
5. Start production
Now it’s time for you and your team to start production!
It may seem like a lot of work or even a daunting task, however, storyboards can benefit you and your learners. Give it a try and see how they can work for you.
Have you ever used storyboards before? Let us know your tips and opinions in the comments below.