
2 min reading time
How to Publish to xAPI (Tin Can) with Articulate Storyline 3

In this guide, we show you how to publish your Articulate Storyline courses in the xAPI format. xAPI, also known as Tin Can, was intended to be SCORM’s successor. That hasn’t happened just yet, but, there are lots of reasons to use xAPI over SCORM, most notably that it’s a more reliable format. The publishing process is very similar to publishing SCORM content so there’s no extra effort required either! Once you have finished creating your content, carry out the following steps to create xAPI courses, ready to be uploaded to your LMS (if your LMS supports xAPI of course). (We used Storyline 3 for this post, but the process is the same for Storyline 2.)
Step 1: Go To Publishing Settings
On your Storyline user interface, go to the home tab on the ‘ribbon’ (top menu) and click Publish. This will bring up the publishing settings. Give your project a “Title” and “Description”. You also choose where you want to save the file that will be created. 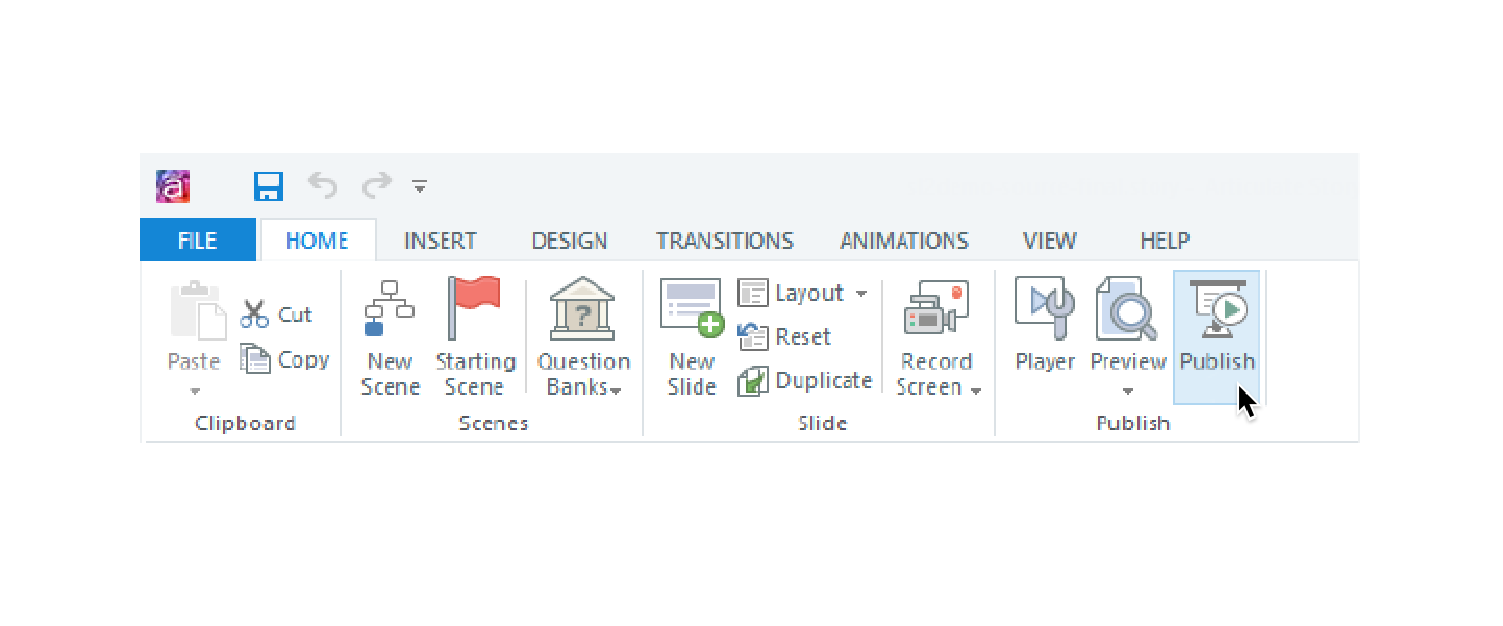
Step 2: Choose LMS and xAPI
First, choose the way in which you will distribute your course. Select the ‘LMS’ option on the left-hand side of the window. Then from the drop-down list at the bottom of the window, select Tin Can API (storyline still call xAPI by its project name.)
Step 3: Output settings
Next up, choose your output options. Output choices basically decide the technologies that will be used to display your content in a browser. Select HTML5 as your primary output. If you want to support flash based browsers/devices choose it as a fallback option. In that case, HTML5/flash.
Step 4: Tracking Settings
Click on ‘Reporting and Tracking button’. When using an xAPI compliant LMS you don’t normally need to engage with the ‘reporting’ settings. The tracking settings, however, decide how the LMS identifies the point at which a learner has completed a course. There are two options to choose from:
Tracking using the number of slides viewed.
This option tracks progress by the number of slides viewed. If you don’t have a quiz in your course, this is the option to choose. Choose the minimum number of slides a learner has to view in order to ‘complete’ the course. In most cases just choose the last slide as ‘complete’. So if you have 10 slides, upon viewing the 10th the course is completed.
Track using quiz result
If you have a quiz based course, choose this option. Here, completion is based on the results slide. If the learner passes the quiz – then they’ll have passed the course too – and that information is tracked by the LMS.
Step 5: Hit Publish
Click the “Publish” button in the bottom right-hand corner to complete the process. Then click on the “Zip” symbol to select the location where you would like to save your file. Click “Save” and “Close”.
Step 6: Upload to your LMS
You’re all set to upload your xAPI course to your LMS. For LearnUpon users, all you have to do is add a module to a course and upload this xAPI zip folder. LearnUpon will take care of everything else!